Hello, world! - Cape.JS Primer
The first serial story of “Cape.JS Primer” is starting from a practice to show “Hello, world!” on a browser screen as the tradition.
I know this is sudden, but create a HTML file by using some text editor and which content is below. And save it as hello_message1.html.
<!DOCTYPE html>
<html>
<head>
  <meta charset="utf-8">
  <title>HELLO WORLD</title>
  <script src="https://cdn.rawgit.com/oiax/capejs/v1.0.1/dist/cape.min.js"></script>
</head>
<body>
  <div id="main"></div>
  <script>
    var HelloMessage = Cape.createComponentClass({
      render: function(m) {
        m.p('Hello, world!');
      }
    });

    var component = new HelloMessage();
    component.mount('main');
  </script>
</body>
</html>
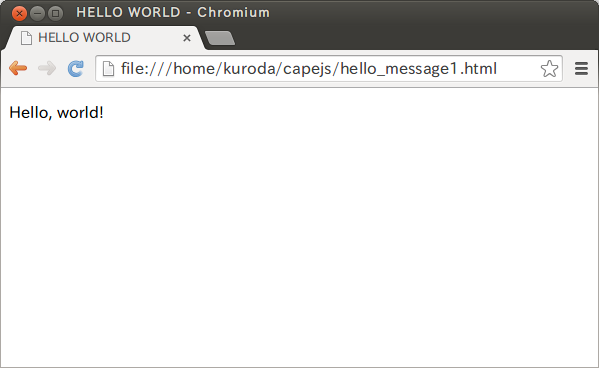
Then, open the file on the browser. It’s supposed to be tiny display on the upper left of the screen.
It’s very simple but also a brave program of Cape.JS.
The program is written within a tag <script> .
var HelloMessage = Cape.createComponentClass({
  render: function(m) {
    m.p('Hello, world!');
  }
});

var component = new HelloMessage();
component.mount('main');
The first 5 lines define class a HelloMessage . It creates the instance and put component into the variable and lastly, call the method mount.
A basic pattern of programming of Cape.JS is to define the component class, make its instance and place it somewhere in a website. Each instance of the component class has the method mount. When you specify an value with an id attribute of an element on the website, you can mount the component there.
<div id="main"></div> is written in the HTML file of the example above. The component HelloMessage is mounted within there.
Well, the component class of Cape.JS has to have the instant method render. The role of this method is to make virtual DOS tree. I’ll explain what “virtual DOS tree” is in another setting, and please understand that you learn “a part of HTML document”.
The method render the class HelloMessage is defined as below.
render: function(m) {
  m.p('Hello, world!');
}
A unique parameter (m) of the method is an object as called as ** Markup builder**. We prescribe this object the way to make the part of HTML document.
An interesting character of Cape.JS is that the method name directly corresponds to an element name of HTML. In the example above the method p is used and of course it corresponds to the element <p>. That means that make the part of HTML document like below.
<p>Hello, world!</p>
It’s easy to image the way to surround “Hello, world!” with the tag <h1> instead of the tag <p>. Yes, you’re right. It’s supposed to be written like following.
render: function(m) {
  m.h1('Hello, world!');
}
Then, what should we do if we want to make the virtual DOM tree <div class="greeting">Hello, world!</div>? There are 4 ways prepared by Cape.JS. The first way is to pass the method div as hash representing the name and value of HTML attribute.
render: function(m) {
  m.div('Hello, world!', { class: 'greeting' });
}
The second way is to call the method class before calling the method div.
render: function(m) {
  m.class('greeting');
  m.div('Hello, world!');
}
Next, decide the class attribute of an element to be added to the virtual DOM tree for the method class of markup builder,
The third way is also to call the method class but pass hash as parameters.
render: function(m) {
  m.class({ greeting: true });
  m.div('Hello, world!');
}
The forth way is to enter the method elem. This method used character string of CSS’s selector format to the first parameter.
render: function(m) {
  m.elem('div.greeting', 'Hello, world!');
}
These four ways have both advantages and disadvantages. The first way is the most intuitive but the possibility may be getting lower if the program gets more difficult. In case when you change class attributes of HTML element, it’s easier to code in the second or third way. For some people, the forth way may be attractive.
And, it’s possible to joint methods like a chain because markup builder return itself like following.
render: function(m) {
  m.class('greeting').div('Hello, world!');
}
This is the end of the first lecture. On the next lecture we will explain how to acquire data from elements that components are mounted on. We will also talk about the nesting of HTML elements.