Integrate Cape.JS with Ruby on Rails (2) - Cape.JS Primer
As the previous lecture, I’ll explain how to approach to Ruby on Rails.
Before you start developing Rail application, prepare one more. Open config/application.rb on the text editor and rewrite as following.
    # (abbreviation of 1-23 lines)
    config.active_record.raise_in_transactional_callbacks = true

    config.generators do |g|
      g.helper false
      g.assets false
      g.skip_routes true
      g.test_framework false
    end
  end
end
This correction prevents unnecessary (in my opinion) file creations and modifications.
bin/rails g does not create helper modules, style sheets and JavaScript files. It does not rewrite config/routes.rb, too.
We specify g.test_framework false not to automatically create the templates of test scripts, because we don't write tests in this tutorial.
Next, open config/routes.rb on the text editor and rewrite like following after getting rid of all comment lines (lines starting from #).
Rails.application.routes.draw do
  root 'top#index'
end
Then, run next command on the terminal.
$ bin/rails g controller top index
Open app/views/top/index.html.erb on the text editor and rewrite like following.
<div class="container">
  <div class="page-header">
    <h1>
      <i class="fa fa-list"></i> TODO LIST
      <small>Cape.JS Demo on Rails</small>
    </h1>
  </div>

  <div class="page-body" id="todo-list"></div>
</div>

<script>
var app = new TodoList();
app.mount('todo-list');
</script>
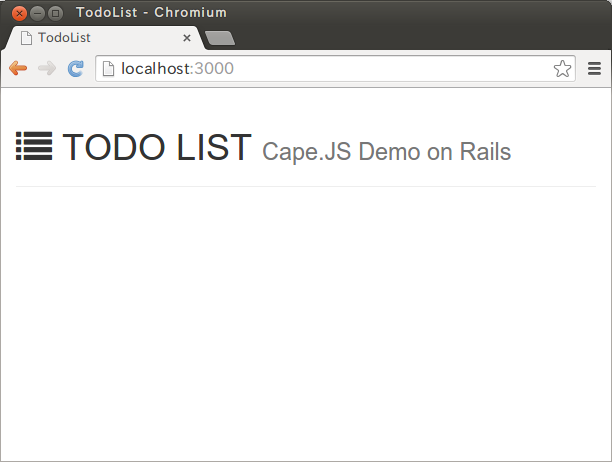
Let’s make sure the move here. Run next command on the terminal to boot Rails application.
$ bin/rails s
Open http://localhost:3000 on the browser. If the screen displays like following, it’s OK.
Now, here is the best part.
Create a new file todo_list.es6 at app/assets/javascripts directory and write as following on the text editor.
class TodoList extends Cape.Component {
  render(m) {
    m.ul(m => {
      m.li(m => {
        m.label(m => {
          m.input({ type: 'checkbox' }).sp();
          m.span("Buy cat food");
        });
      });
      m.li(m => {
        m.label(m => {
          m.input({ type: 'checkbox' }).sp();
          m.span('Go dentist');
        });
      });
    });
  }
}
This is the program of JavaScript but you may get confused because it uses ES6’s (ECMAScript 6) syntax. Let me explain briefly.
On the first line class TodoList extends Cape.Component, it defines the new class TodoList by inheriting the class Cape.Component.
On the second line render(), it defines the method render.
m => { ... } that you can see on every place on source code is the syntax defining “arrow function”. It’s (almost) same as function(m) { ...}.
function. So it contributes especially on the library using a lot of deep nesting like Cape.JS. It has another important side to "lexically constrain" the value this. For more information, please refer the MDN's
arrow function.
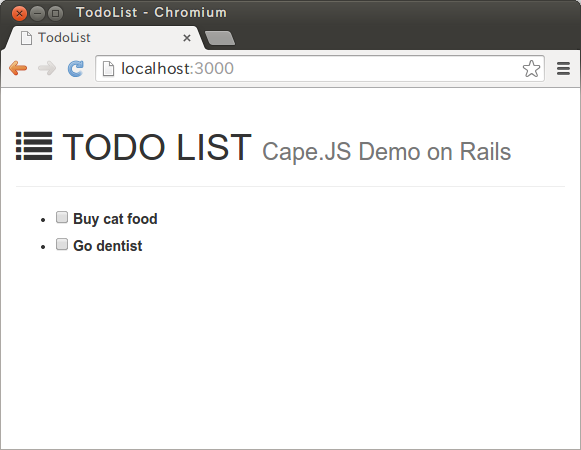
Then, let’s make sure the move here. Reload the browser. If the screen displays like following, it’s OK.
We have already included the sprockets-es6 gem so the file holding the extension
.es6 is automatically compiled to the traditional JavaScript code and load it to the page.
That’s all for integrating Cape.JS with Rails application. On the next lecture, I’ll explain the way of rendering the component with the data.